Having never heard of the Dobos Torta (which rock have I been hiding under?), I went straight to the good ol' Wikipedia and punched it in. It is a 5 layer cake sandwiched together with buttercream, first devised by Hungarian confectioner József C. Dobos in 1884 in an effort to create a cake with better keeping qualities. The fine buttercream layers kept the cake moist and the caramel/toffee on top helped seal it also. For many years the recipe remained a strictly guarded secret until his retirement in 1906 when he presented it to the Budapest Confectioners' and Gingerbread Makers' Chamber of Industry on the condition that all members be able to use it freely.

So, without further ado, here is the recipe as presented to us:
Dobos Torta
Prep times
- Sponge layers 20 mins prep, 40 mins cooking total if baking each layer individually.
- Buttercream: 20 mins cooking. Cooling time for buttercream: about 1 hour plus 10 minutes after this to beat and divide.
- Caramel layer: 10-15 minutes.
- Assembly of whole cake: 20 minutes
Sponge cake layers
- 6 large eggs, separated, at room temperature
- 1 1/3 cups (162g) confectioner's (icing) sugar, divided
- 1 teaspoon (5ml) vanilla extract
- 1 cup plus 2 tablespoons (112g) sifted cake flour (SUBSTITUTE 95g plain flour + 17g cornflour (cornstarch) sifted together)
- pinch of salt
Chocolate Buttercream
- 4 large eggs, at room temperature
- 1 cup (200g) caster (ultrafine or superfine white) sugar
- 4oz (110g) bakers chocolate or your favourite dark chocolate, finely chopped
- 2 sticks plus 2 tablespoons (250g) unsalted butter, at room temperature.
Caramel topping
- 1 cup (200g) caster (superfine or ultrafine white) sugar
- 12 tablespoons (180 ml) water
- 8 teaspoons (40 ml) lemon juice
- 1 tablespoon neutral oil (e.g. grapeseed, rice bran, sunflower)
Finishing touches
- a 7” cardboard round
- 12 whole hazelnuts, peeled and toasted
- ½ cup (50g) peeled and finely chopped hazelnuts
Directions for the sponge layers:
NB. The sponge layers can be prepared in advance and stored interleaved with parchment and well-wrapped in the fridge overnight.
1.Position the racks in the top and centre thirds of the oven and heat to 400F (200C).
2.Cut six pieces of parchment paper to fit the baking sheets. Using the
bottom of a 9" (23cm) springform tin as a template and a dark pencil or
a pen, trace a circle on each of the papers, and turn them over (the
circle should be visible from the other side, so that the graphite or
ink doesn't touch the cake batter.)
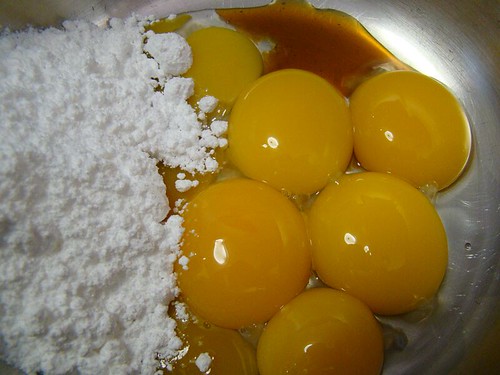
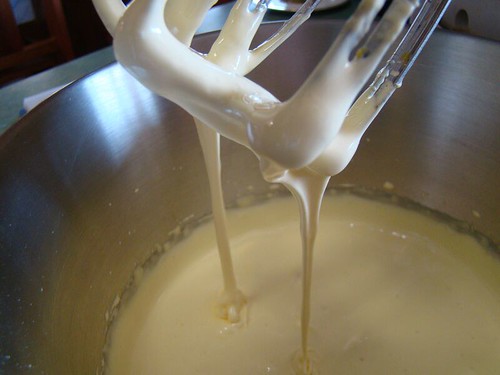
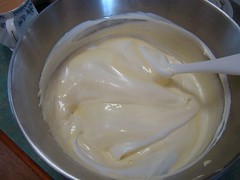
3.Beat the egg yolks, 2/3 cup (81g) of the confectioner's (icing)
sugar, and the vanilla in a medium bowl with a mixer on high speed
until the mixture is thick, pale yellow and forms a thick ribbon when
the beaters are lifted a few inches above the batter, about 3 minutes.
(You can do this step with a balloon whisk if you don't have a mixer.)
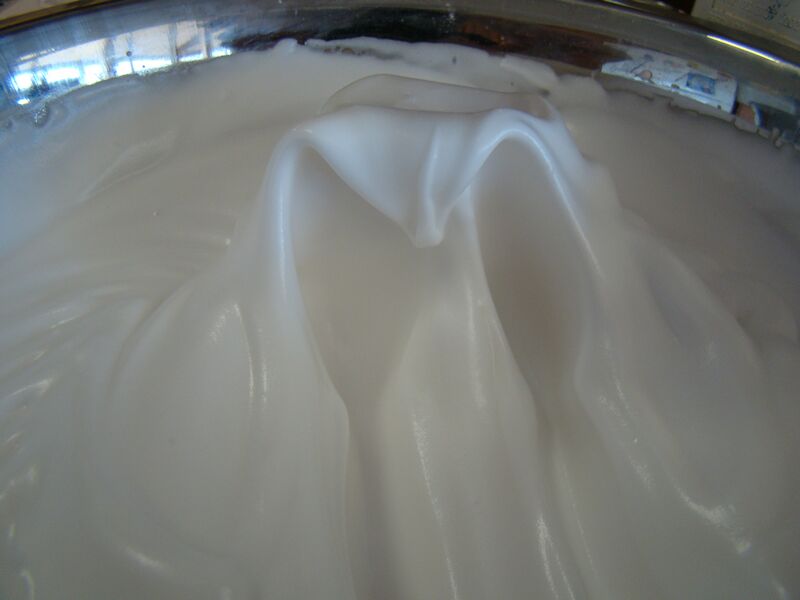
4.In another bowl, using clean beaters, beat the egg whites until
soft peaks form.

Gradually beat in the remaining 2/3 cup (81g) of
confectioner's (icing)sugar until the whites form stiff, shiny peaks.
Using a large rubber spatula, stir about 1/4 of the beaten whites into
the
 egg yolk mixture, then fold in the remainder, leaving a few wisps
of white visible. Combine the flour and salt. Sift half the flour over
the eggs, and fold in; repeat with the remaining flour.
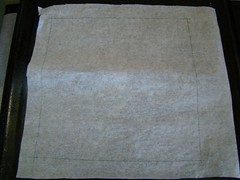
5.Line one of the baking sheets with a circle-marked paper. Using a
small offset spatula, spread about 3/4cup of the batter in an even
layer, filling in the traced circle on one baking sheet.
Bake on the
top rack for 5 minutes, until the cake springs back when pressed gently
in the centre and the edges are lightly browned. While this cake bakes,
repeat the process on the other baking sheet, placing it on the centre
rack. When the first cake is done, move the second cake to the top
rack. Invert the first cake onto a flat surface and carefully peel off
the paper. Slide the cake layer back onto the paper and let stand until
cool. Rinse the baking sheet under cold running water to cool, and dry
it before lining with another parchment. Continue with the remaining
papers and batter to make a total of six layers. Completely cool the
layers. Using an 8" springform pan bottom or plate as a template, trim
each cake layer into a neat round. (A small serrated knife is best for
this task.)
Directions for the chocolate buttercream:
NB. This can be prepared in advance and kept chilled until required.
1.Prepare a double-boiler: quarter-fill a large saucepan with water and
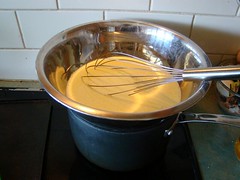 bring it to a boil.
2.Meanwhile, whisk the eggs with the sugar until pale and thickened,
about five minutes. You can use a balloon whisk or electric hand mixer
for this.
3.Fit bowl over the boiling water in the saucepan (water should not
touch bowl) and lower the heat to a brisk simmer. Cook the egg mixture,
whisking constantly, for 2-3 minutes until you see it starting to
thicken a bit. Whisk in the finely chopped chocolate and cook,
stirring, for a further 2-3 minutes.
4.Scrape the chocolate mixture into a medium bowl and leave to cool to
room temperature. It should be quite thick and sticky in consistency.
5.When cool, beat in the soft butter, a small piece (about 2
tablespoons/30g) at a time. An electric hand mixer is great here, but
it is possible to beat the butter in with a spatula if it is soft
enough. You should end up with a thick, velvety chocolate buttercream.
Chill while you make the caramel topping.
Lorraine's note: If you're in Winter just now your butter might
not soften enough at room temperature, which leads to lumps forming in
the buttercream. Male sure the butter is of a very soft texture I.e.
running a knife through it will provide little resistance, before you
try to beat it into the chocolate mixture. Also, if you beat the butter
in while the chocolate mixture is hot you'll end up with more of a
ganache than a buttercream!
Directions for the caramel topping:
1.Choose the best-looking cake layer for the caramel top. To make
the caramel topping: Line a jellyroll pan with parchment paper and
butter the paper. Place the reserved cake layer on the paper. Score the
cake into 12 equal wedges. Lightly oil a thin, sharp knife and an
offset metal spatula.
2.Stir the sugar, water and lemon juice in a small saucepan. Bring to a
boil over a medium
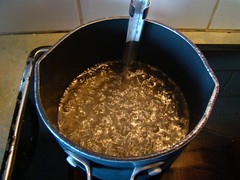 heat, stirring often to dissolve the sugar. Once
dissolved into a smooth syrup, turn the heat up to high and boil
without stirring, swirling the pan by the handle occasionally and
washing down any sugar crystals on the sides of the pan with a wet
brush until the syrup has turned into an amber-coloured caramel.
3.The top layer is perhaps the hardest part of the whole cake so make
sure you have a oiled, hot offset spatula ready. I also find it helps
if the cake layer hasn't just been taken out of the refrigerator. I
made mine ahead of time and the cake layer was cold and the toffee set
very, very quickly—too quickly for me to spread it. Immediately pour
all of the hot caramel over the cake layer. You will have some leftover
most probably but more is better than less and you can always make nice
toffee pattern using the extra to decorate. Using the offset spatula,
quickly spread the caramel evenly to the edge of the cake layer. Let
cool until beginning to set, about 30 seconds. Using the tip of the hot
oiled knife (keep re-oiling this with a pastry brush between cutting),
cut through the scored marks to divide the caramel layer into 12 equal
wedges. Cool another minute or so, then use the edge of the knife to
completely cut and separate the wedges using one firm slice movement
(rather than rocking back and forth which may produce toffee strands).
Cool completely.
Angela's note: I recommend cutting, rather than scoring, the
cake layer into wedges before covering in caramel (reform them into a
round). If you have an 8” silicon round form, then I highly recommend
placing the wedges in that for easy removal later and it also ensures
that the caramel stays on the cake layer. Once set, use a very sharp
knife to separate the wedges.
Assembling the Dobos
1.Divide the buttercream into six equal parts.
2.Place a dab of chocolate buttercream on the middle of a 7 1/2”
cardboard round and top with one cake layer. Spread the layer with one
part of the chocolate icing. Repeat with 4 more cake layers. Spread the
remaining icing on the sides of the cake.
3.Optional: press the finely chopped hazelnuts onto the sides of the cake.
4.Propping a hazelnut under each wedge so that it sits at an angle,
arrange the wedges on top of the cake in a spoke pattern. If you have
any leftover buttercream, you can pipe rosettes under each hazelnut or
a large rosette in the centre of the cake. Refrigerate the cake under a
cake dome until the icing is set, about 2 hours. Let slices come to
room temperature for the best possible flavour.
So, what did I do different??
Me being me, I had to make a few changes along the way - I can't help it. We were having friends over for dinner the night I
 made it and B. is allergic to full fat dairy which ruled him out of the dessert due to the buttercream. Luckily I had some left over lime custard in the fridge from some tarts I had made a few days earlier with some gorgeous Tahitian lime Dad had given me. So I figured I would make a second torta using the lime instead of the chocolate.
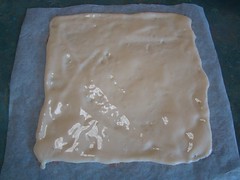
I made the sponge layers as per the recipe with the only difference being I used duck eggs (because we have ducks and I think they are immeasurably superior to chicken eggs for baking), and I made the layers square instead of round so I could cut them in half and make 2 rectangular cakes out of the one batch. Matthew complimented me on "up there for thinking", I just thought I was being lazy!! lol!
 Anyway, once the layers were all made I put aside one full layer (we will come back to this one) and then trimmed off one edge from each layer and measured out 11cm and cut to make 2 long rectangles. When I stacked them, I put all the cakes with 2 trimmed edges in one cake, and the cakes with one trimmed edge and one rough edge in the other - aligning the cut edges on one side and the untrimmed edges on the other to keep it neat.
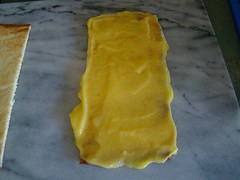 On the lime cake, I brushed each layer with
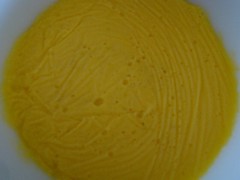
 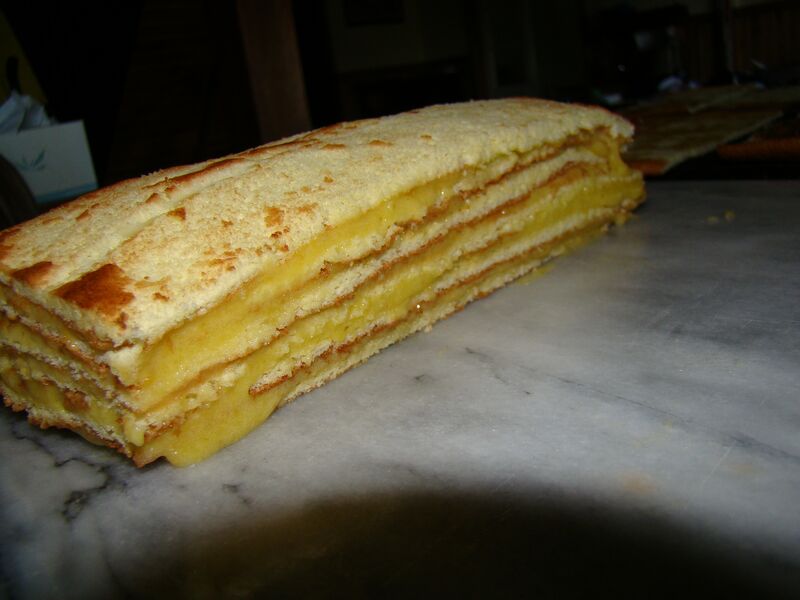 some lime syrup that I whipped up (just equal parts water, sugar and lime juice boiled for 5 minutes - note to self - WATCH IT ON THE BOIL NEXT TIME - DRIED SUGAR SYRUP IS A PAIN TO HAVE TO CLEAN OFF THE STOVE TOP!!!). I then spread on a layer of the lime custard, then the next layer of cake and so on, finishing with a cake layer.
 For the chocolate cake, I brushed the cake layers
 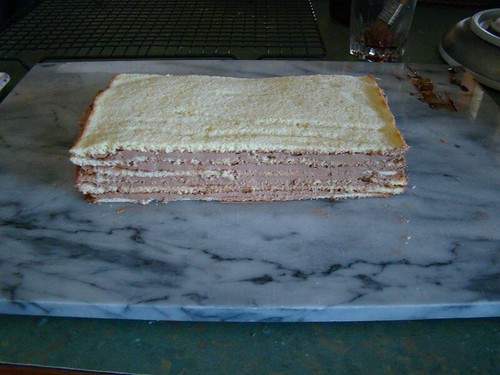 with some raspberry liquer from the local winery before spreading the chocolate buttercream, continuing with the layering and finishing with a cake layer.
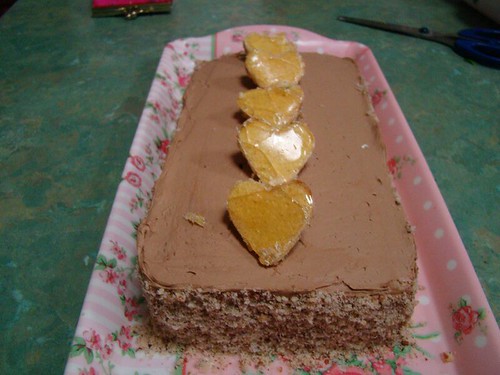
Now, back to that layer we put aside earlier, I pulled out a heart cutter (you already know about my penchant for cookie cutters right? It's not a problem...really...is it???) and cut out heaps of hearts - turned out I only needed six and lay them in a silicone cake tin. I then poured the caramel (toffee to us Aussies) over them as per the proper recipe, let it set, and cut it out again with the cutter. Most of them
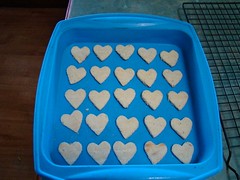 smashed/shattered/broke. Next time, I will dunk the cake hearts into the pot of caramel/toffee and then lay them on a silicon mat/baking paper.
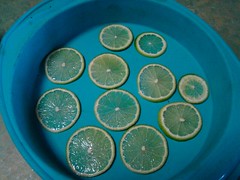
I then took a lime and sliced it as thin as I could and poured some of the caramel/toffee over them and let them set.
Finally, I covered the chocolate cake with the remaining chocolate buttercream and pressed chopped hazelnuts onto the sides of the cake. I then used whole hazelnuts to prop up the hearts along the length of the cake.
 For the lime cake, I made a lime flavoured cream cheese frosting (yep, completely forgot about B. and his probs with dairy at this stage - some friend I am!!) and covered the cake with it. I pressed poppy seeds into the side of this one and placed the toffee coated lime slices on top. YUM YUM! Needless to say, B. loves his sweets, so his wife ate the frosting off his piece of lime cake and the toffee coated lime slices on top turned out to be the highlight of his evening. Think I'll make him a big box of them for Christmas!
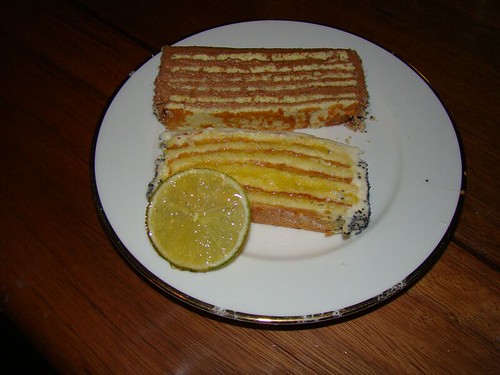
All in all, everyone loved both cakes. The chocolate lovers and sweet-tooths loved the original chocolate version, and those of us who prefer our sweets not-too-sweet loved the lime version. Both will DEFINATELY be made again! Thanks Daring Bakers, and extra special thanks to Lorraine and Angela.
So, I wonder....what is on the cards for next month's challenge???

No comments:
Post a Comment